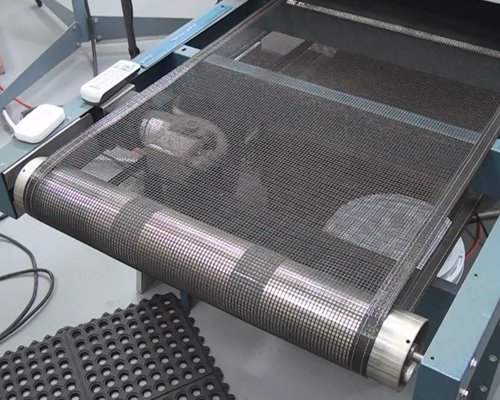
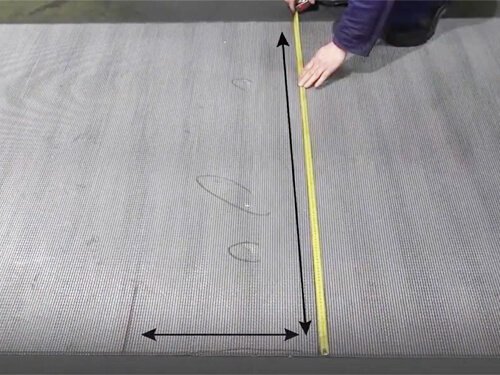
Preparation of the Belt: If repair is needed, mark the damaged area of the Rolled Baking Oven Belt and identify the parts to be removed.
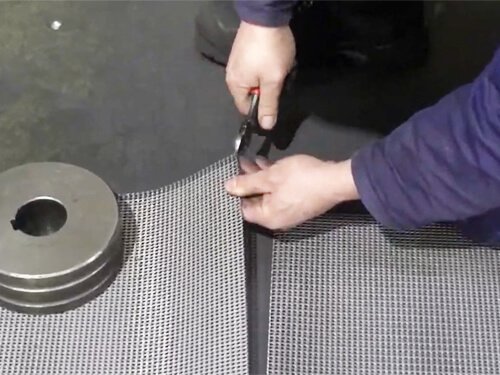
Remove Marked Damaged Parts: Use strong scissors to cut off the damaged area along the marked line.
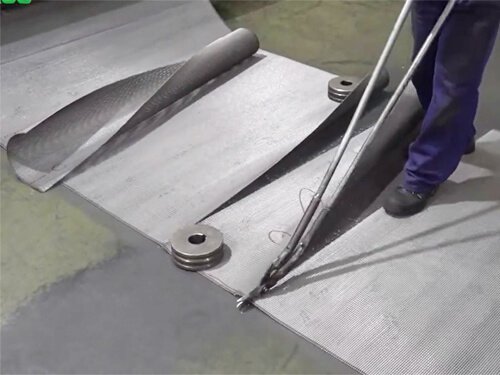
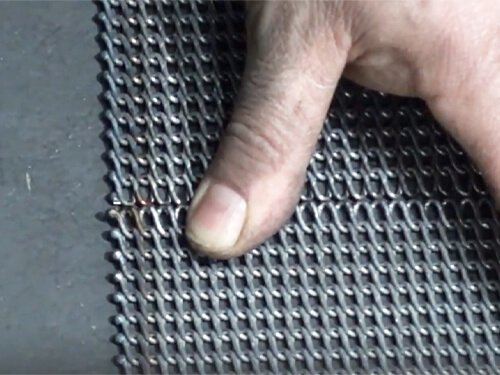
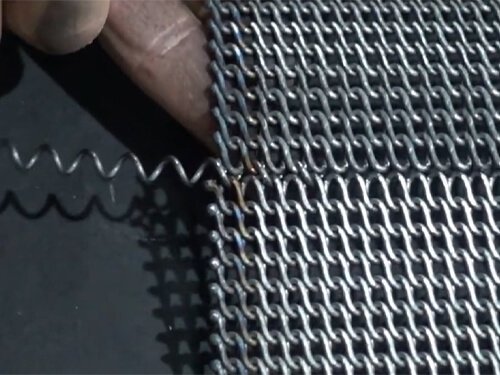
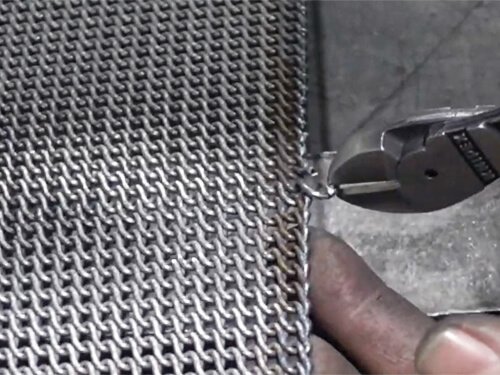
Cleaning/Cutting off Wire Ends: Clean and cut the end weld of the wire to smoothly insert the coil into the existing belt interface.
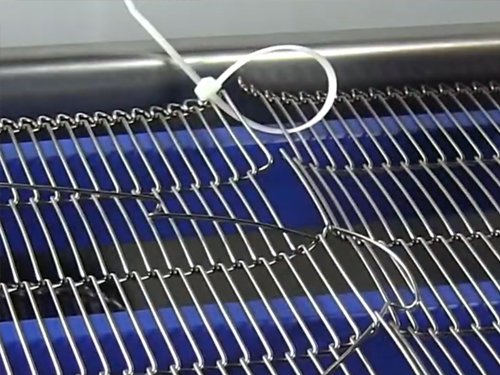
Align Belt Ends: Pull the belt ends together and hold them in position. Temporary methods like cable ties or wire can be used.
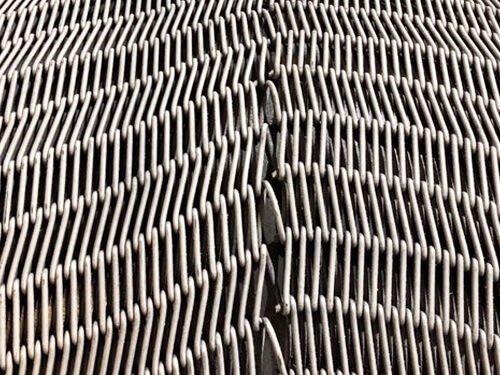
Use joining coils: Note that each belt join requires 2 coil strands due to its duplex coil construction. We include spare joining coils with each belt order.
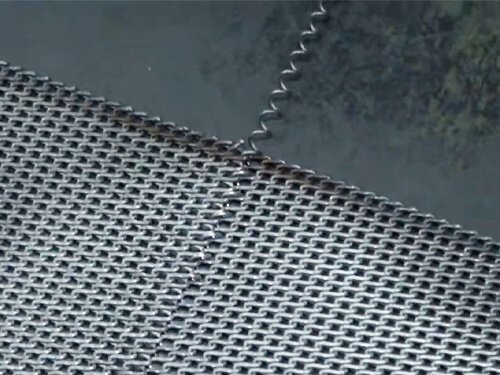
Insert First Coil: Rotate the first coil through both ends of the belt until it protrudes through both belt edges.
Insert Second Coil: Rotate the second coil through the alternate coil pitch space until it protrudes through both belt edges.
Release Ties and Position Belt: Release any cable ties or wire and slowly drive the belt to position the joint at a rigid cross member or a terminal drum.
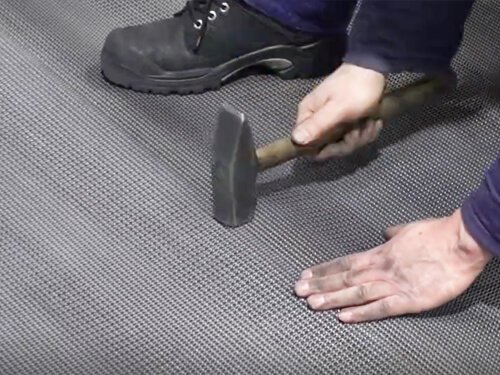
Flatten Coils: Gently hammer the coils flat to match the remaining mesh once in position.
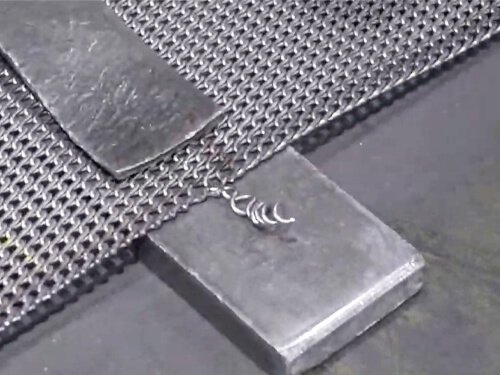
Cut and Loop Wire Ends: Cut and loop the wire ends to match the edges of the belt.
Final Check: Re-check the join to ensure a flat, even finish.
These steps should guide you through the process of repairing or connecting rolled baking oven belts or Z-belts effectively, ensuring a secure and smooth operation of your conveyor system.